
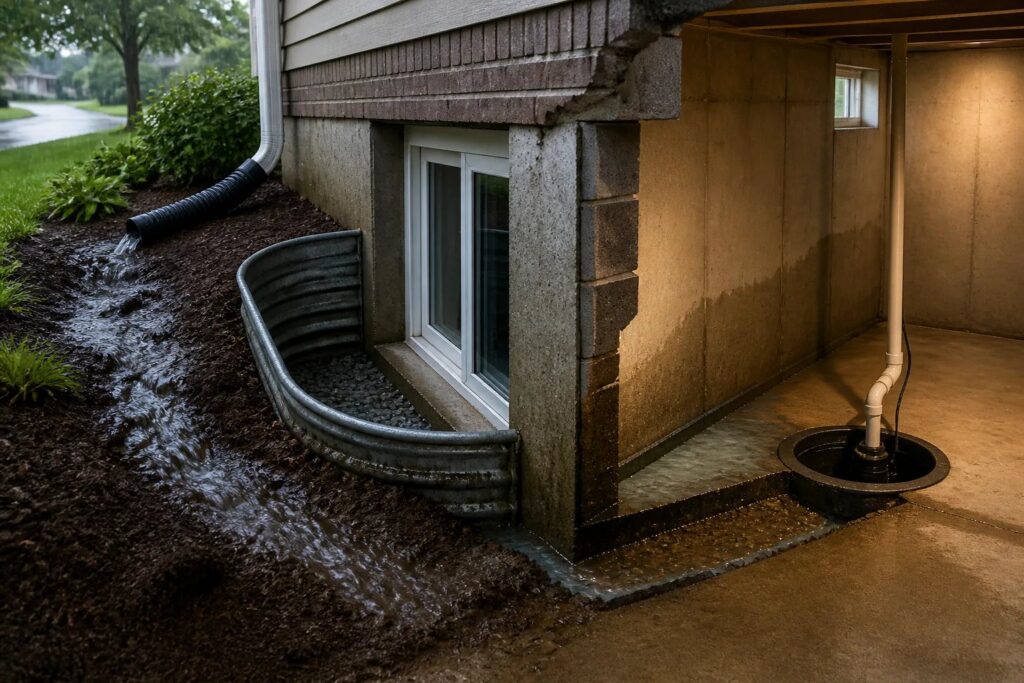
To diagnose a basement leak in Milton, start with the first place water appeared and the conditions when it appeared. A puddle at a baseboard, a damp wall, or water at the floor edge can be the final point in a longer path. Water can move behind finished walls, along framing, across a slab, or around pipes before becoming visible. Identifying that path before selecting a repair helps avoid treating a stain while leaving the source unaddressed.
At Milton Basement Waterproofing, we provide wet and leaking basement repair, including foundation leak repair, interior and exterior waterproofing, drainage work, and sump-related solutions. A property-specific assessment should connect the visible symptom to the likely route, the way water will be collected or blocked, and a suitable discharge destination.
Start with the water pattern, not the biggest wet area
The largest damp patch is not necessarily the entry point. Instead, try to establish a short timeline. Note when you first noticed the problem, the type of weather leading up to it, and whether the area dries fully between events. A clear pattern gives much better direction than one photo taken after water has already spread.
- Short, intense rain: Can point attention toward surface runoff, window wells, roof runoff, or an opening that responds quickly to heavy rainfall.
- Several days of rain: Can suggest prolonged saturation around the foundation or drainage capacity that needs closer review.
- Late-winter thaw: Snowmelt can create a different water condition from a summer downpour, even at the same house.
- Water during normal plumbing use: This deserves separate investigation from groundwater or rain-related seepage.
- Water or odour at a floor drain: May indicate a drainage or wastewater issue rather than a foundation opening.
Also record whether the sump pump ran, whether the pit was unusually full, and whether water appeared along one wall or several. Keep records of any prior repair work available. Earlier scopes can clarify what was addressed and what was not.
Read common basement water clues carefully
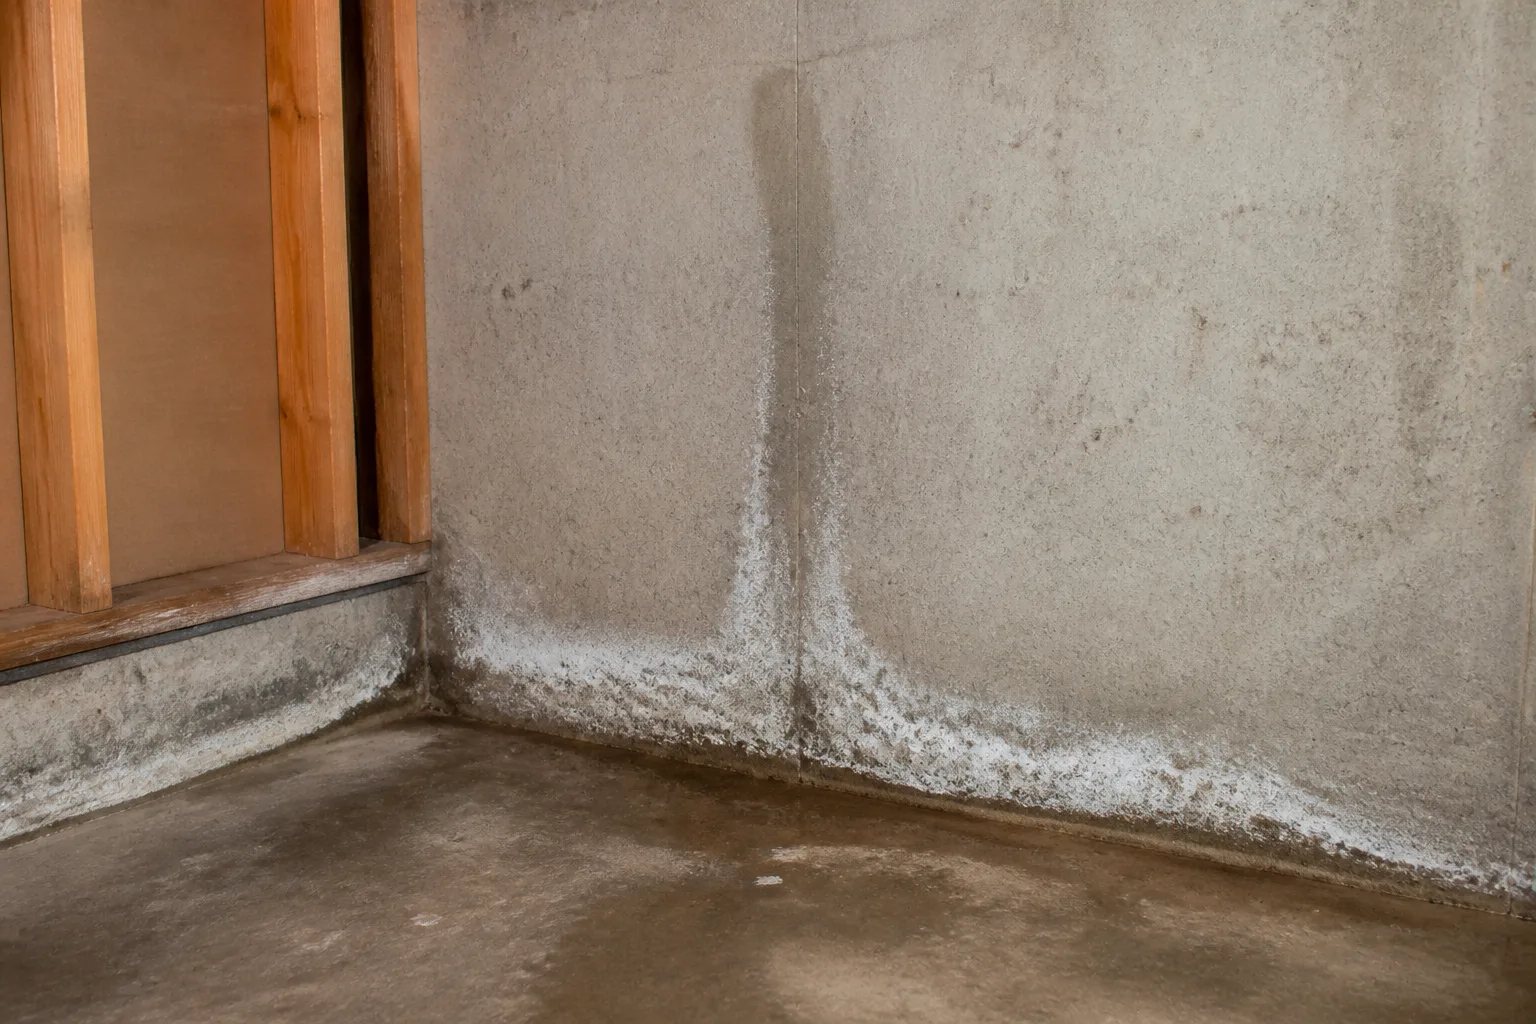
Visible symptoms narrow the possibilities, but no single clue proves a particular cause. A wall stain might relate to a crack, a pipe penetration, a window interface, or water travelling unseen behind insulation or drywall. Likewise, water at the wall-floor joint can result from water collecting at the foundation perimeter, but it does not automatically identify a failed drain or one specific opening.
| What you notice | What it can help investigate | What it does not prove on its own |
|---|---|---|
| One damp vertical line or crack after rain | An accessible crack or localized route | That the full foundation needs excavation |
| Water at several floor edges during a long storm | Perimeter drainage and water-management capacity | That one visible crack is the only cause |
| Dampness, musty air, or white mineral deposits | Moisture movement, humidity, airflow, plumbing, and exterior drainage | An active foundation leak |
| Water near a basement window | Window-well drainage, the window interface, and nearby surface runoff | That an interior drain alone will solve the issue |
White mineral deposits, often called efflorescence, show that moisture has moved through masonry. They do not establish whether water is actively entering today. Condensation often forms on cooler surfaces in humid conditions, while active entry more often follows a particular rainfall, thaw, or route. Our basement moisture and condensation control information explains why these distinctions matter.
Check the route from roof and ground to the foundation
Basement repair decisions should account for what happens outside as well as inside. Water-management problems can begin with where roof runoff lands, whether downspouts discharge away from the home, and whether paving, garden beds, or soil directs water toward the foundation. Window wells also need a clear drainage path rather than a place where water can collect beside the wall.
These observations do not replace an investigation of an existing leak. Surface improvements cannot confirm that a foundation crack is sealed, and a waterproof layer alone cannot correct a poor drainage destination. The useful question is: where is the water going now, and where should it go instead?
For example, a sump pump moves water delivered to its pit. It does not seal a leaking window interface or stop reverse wastewater flow. A backwater valve serves a different purpose from a sump system, and neither one is a general cure for every wet basement. When flooding risks overlap, a basement flood-prevention assessment can review surface runoff, foundation seepage, sump concerns, and wastewater backup as separate pathways.
Key distinction
A visible puddle is not necessarily the entry point
Water can travel behind finishes, along a wall, or across the slab before it reaches the floor. Trace the earliest accessible damp area and the event that preceded it before assuming the nearest crack or baseboard is the source.
How to diagnose a basement leak in Milton before choosing a repair
A sound repair scope starts by matching the method to the observed route. A clearly localized crack, window detail, or grade issue may call for a narrower repair. Repeated seepage along a longer perimeter can justify investigating a broader drainage approach. The condition of existing drainage, accessible foundation details, finished surfaces, and exterior access all affect what can reasonably be done.
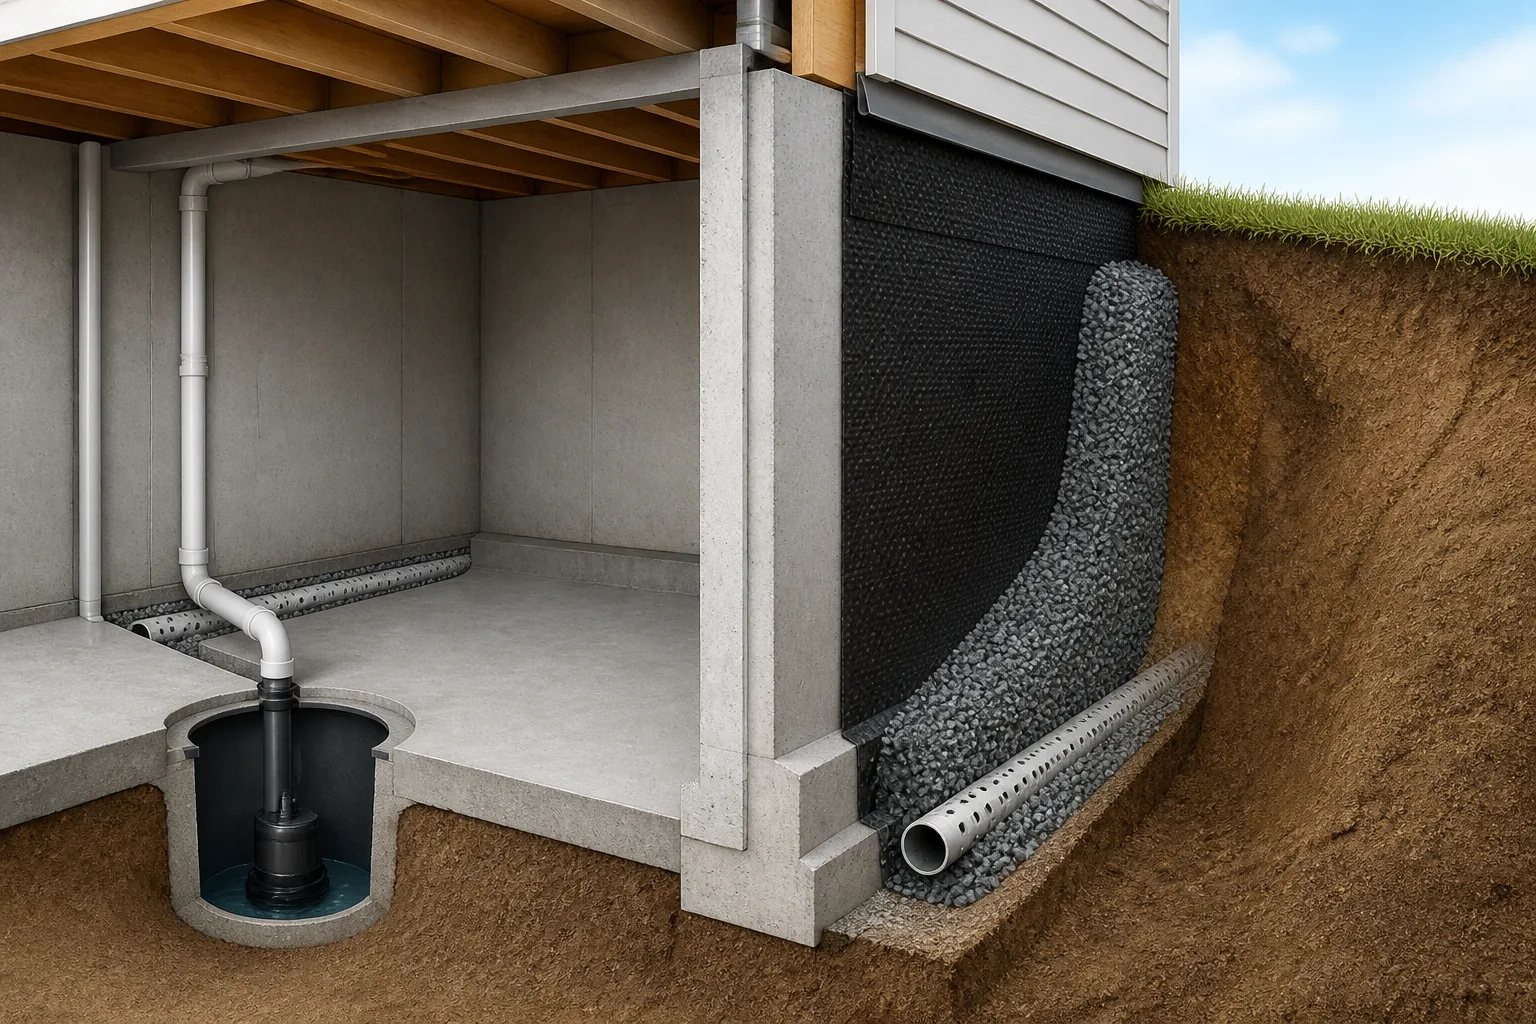
We offer both interior basement waterproofing and exterior basement waterproofing, but they address different parts of a water problem:
- Interior perimeter drainage collects water at the wall-floor edge and routes it toward a suitable sump system. It can be relevant where exterior excavation is impractical, but it does not itself repair exterior grading or a leaking window.
- Exterior waterproofing involves exposing accessible below-grade foundation surfaces, addressing openings, applying a suitable waterproof layer and protection, and addressing drainage before backfill and restoration. Access, utilities, decks, patios, landscaping, and equipment can all affect feasibility.
- Localized repair can be appropriate when a specific opening or detail is confirmed. A focused repair should not be expanded into a broad system without evidence, and a narrow repair should not be expected to solve separate drainage problems.
Finished basements add another consideration: drywall, insulation, flooring, baseboards, and built-ins can conceal the wall or floor edge. Discuss what access is needed, what finishes could be disturbed, and what will happen if conditions behind a finished surface differ from what was visible initially.
Bring useful evidence to a basement assessment
A homeowner does not need to diagnose the building before asking for help. The goal is simply to preserve the observations that make an assessment more specific. When it is safe to do so, take clear photos before cleaning, note the water level and time, and identify the earliest wet point you can find. Avoid affected areas if water is entering near electrical equipment, and arrange appropriate urgent assistance.
Before an assessment
What to document safely
A few focused observations help distinguish rain-related seepage, thaw-related water, plumbing activity, and drainage concerns.
- Photograph the first accessible damp spot before cleaning, if safe.
- Record the date, time, recent rain or snowmelt, and whether the area dries between events.
- Note whether plumbing fixtures or laundry were in use when water appeared.
- Check whether the sump pump ran and whether any floor drain backed up.
- List previous repairs and keep related invoices or scopes available.
- Note accessible exterior details such as downspout discharge, ponding near the wall, and window-well condition.
During an assessment, we look at accessible interior and exterior clues such as the affected wall, wall-floor junction, windows, floor drains, sump pit, roof runoff, grade, downspout discharge, window wells, and prior work. Concealed conditions may limit what can be confirmed without selective opening, so a responsible scope should separate what is visible from what is inferred.
Compare repair proposals by pathway, scope, and disruption
Before authorizing work, ask the questions that turn a broad waterproofing quote into a property-specific plan:
- Which observation supports this proposed repair?
- Which wall, length, opening, or component is included?
- How will the work interrupt or collect the identified water route?
- Where will collected water discharge?
- What basement finishes, landscaping, paving, or exterior features need to be removed, protected, or restored?
- What could change if concealed conditions differ from the initial assessment?
- Are permits or inspections relevant to changes in sump connections, wastewater drainage, or finished spaces?
Keep the written scope, photographs, and any permit or inspection records with your property documents. After work, observe the same locations during the next significant rain or thaw. If a system includes accessible components such as a sump pit, battery backup, valve, surface outlet, or window well, ask what periodic checks are appropriate for that component.
A dry interval alone does not prove the underlying route has been resolved, especially when finishes hide part of the foundation. The most useful repair plan is one that states what it addresses, how water will be managed, and what remains outside its scope.
Helpful answers
Frequently Asked Questions
Get a property-specific view of the water path
Share the first wet location, timing, and any photos so we can assess the basement water problem in context.