Start with the timing and the first visible sign
Follow the water path before choosing the repair. A homeowner can record when a mark first appeared, the most intense recent rain or thaw, and whether plumbing fixtures or laundry were being used. A simple timeline is often more useful than guessing at a repair from one photograph.
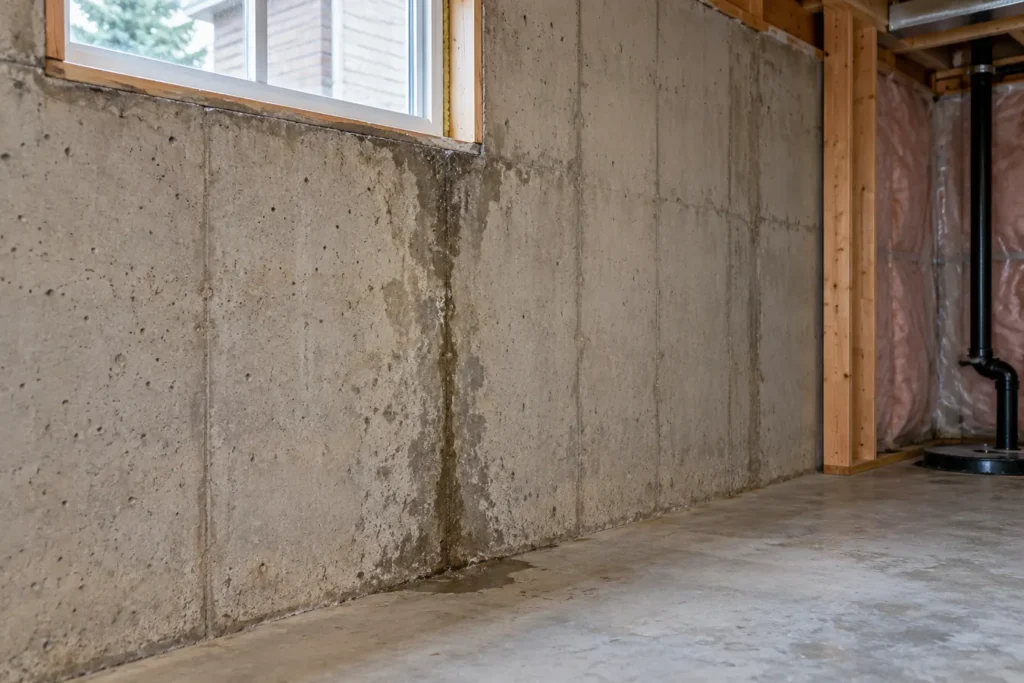
Look for the first damp spot, not only the largest damaged area. Water can travel along a wall, behind a finish, across a slab or along a pipe before it becomes visible. Photograph accessible evidence safely and note whether it dries between weather events.
If water is actively entering near electrical equipment, avoid the affected area and arrange appropriate urgent assistance. Preserve photographs and make a note of water level and time before cleaning when it is safe to do so.
What the property review should establish
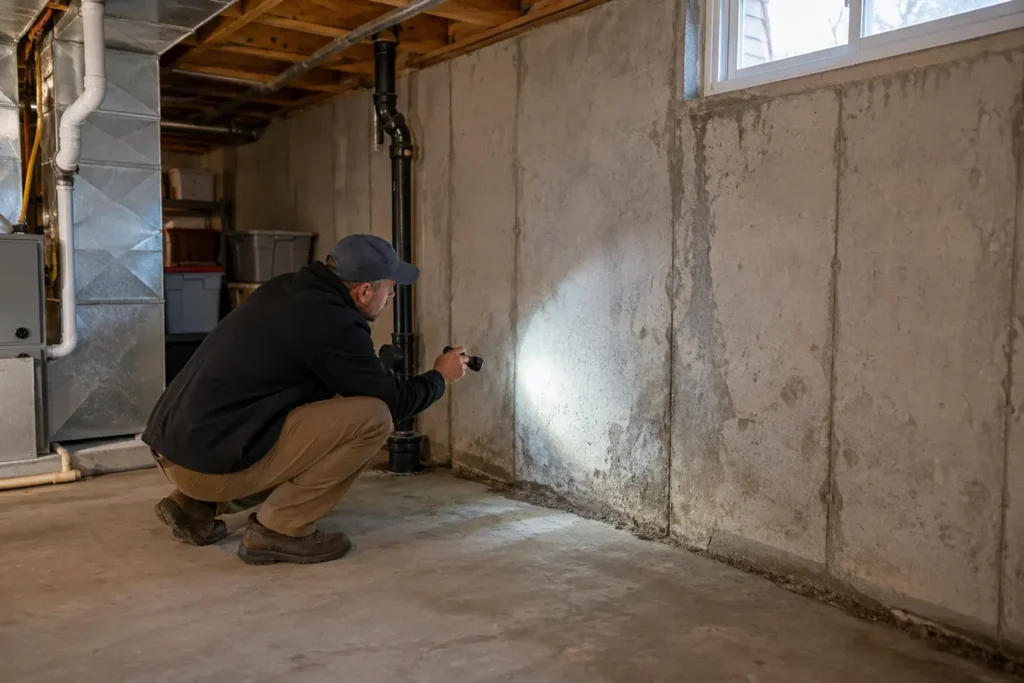
Review symptoms, access and existing drainage before planning work. The interior review should include the full accessible height of the affected wall, the wall-floor junction, windows, floor drains and any sump pit. Finished drywall or insulation may restrict what can be concluded without selective opening.
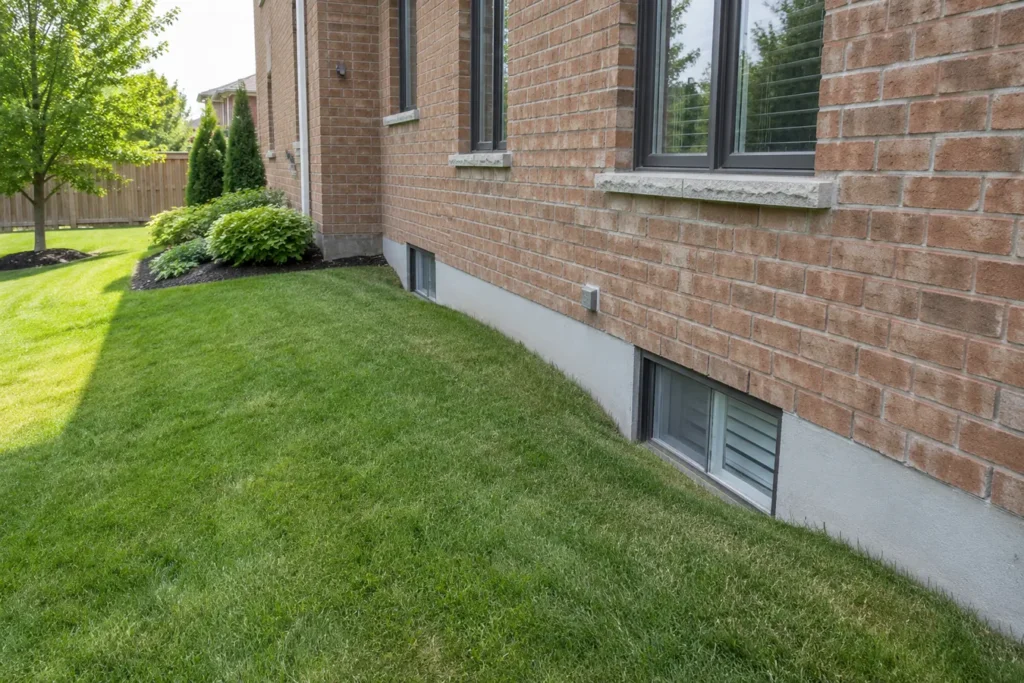
Outside, the relevant clues can include roof runoff, downspout discharge, paving or garden beds sloping toward the house, exposed foundation details, window-well condition and where water is permitted to discharge. One symptom can have more than one contributing cause.
Ask how the proposed work addresses the observed route and where the collected water will go. A repair proposal should identify the area covered, access needed, changes to finishes or landscaping, testing and the limits of what is visible before work begins.
How a repair scope is selected
The proposed scope should connect the visible evidence to a plausible water route. Compare localized repair with broader drainage work based on the evidence. A short affected section, a clear opening and a working drainage system can point to a different scope than water appearing along several walls.
Interior and exterior options solve different parts of the problem. Interior collection may route water to a sump where exterior access is limited; exterior work exposes the foundation wall and its footing drainage. Existing connections, property boundaries and restoration influence feasibility.
A proposal should separate the primary repair from optional improvements such as backup power, window-well corrections or surface grading. This makes the quote easier to compare and helps avoid promising that a single component will solve every source of basement water.
Access, disruption and limitations
Property-specific conditions govern the final method. If the basement is finished, discuss what must be removed, protected or replaced. Outside, access around decks, patios, utilities, air-conditioning units and landscaping may be as important as the length of foundation wall.
Ask what happens if concealed conditions differ from those visible during assessment. The condition of old coatings, drain connections and foundation openings cannot always be established until work exposes them. The final scope should account for those findings.
No repair can be chosen confidently from a wet photograph alone. An assessment should connect the symptom, probable route, drainage destination and chosen method, while stating remaining uncertainty.
Common questions
Can about milton basement waterproofing be assessed without opening finished walls?
Visible clues can narrow the possibilities, but concealed conditions may require careful access before the source is confirmed.
Does a sump pump solve every basement leak?
No. A sump manages water delivered to its pit; a window, crack, plumbing leak or sewer backup can need a different response.
What should I prepare for an assessment?
Record timing, water locations, rain or snowmelt conditions, past repairs and accessible photographs. Note whether the sump ran and whether any floor drain backed up.
Why a water-path approach matters
Basement water is often described by the stain or puddle it leaves, while the repair must deal with the route it took. A window-well overflow, a crack through poured concrete, a saturated foundation base and a wastewater backup can appear in the same room. They call for different inspections and potentially different work. The focus is to connect the symptom to a defensible scope instead of assuming every damp basement needs excavation around the entire house.
Interior and exterior work differ in access, water collection, wall exposure and restoration. Drainage at the footing, an existing sump, a backwater valve and surface grading are related parts of a property, yet each serves a different purpose. A homeowner should be able to see what a recommended measure addresses, what it leaves open and what would be needed to verify a concealed condition.
Milton homes can face sharp summer rain and winter thaw conditions. The Town’s flooding guidance emphasizes sump operation and backup, clear drains, grading, roof runoff and downspouts directed away from basement walls. Those checks are useful context during an assessment, but they cannot diagnose a particular leaking crack or replace a review of the actual property. A property’s construction, surrounding surfaces and previous repairs still need to be considered in their own context.
What to bring to a useful conversation
A few dated photographs can show whether water first appeared at a window, a wall-floor seam, a floor drain or behind finished baseboards. Note the weather, whether the sump ran, and any prior waterproofing or plumbing work. Share the areas that are inaccessible without removing finishes. Those details help frame the investigation while leaving room for what an on-site review may reveal. The goal is a clearly explained repair boundary, with access, permits, drainage destination and restoration discussed before work begins.